
How to Hang Peel and Stick Wallpaper: Start With the Wall, Not the Roll

Here's the peel and stick wallpaper how-to nobody leads with: the job is won or lost before the roll opens. The wall's paint finish, its texture, and even how recently it was painted decide whether your wallpaper hangs flat for years or starts curling by Thursday.
So this guide runs in the order that actually prevents failures — qualify the wall, buy the right amount, hang the first strip from a true vertical, and know the three fixes you'll need on the way. Do it in this order and an accent wall is a calm afternoon, not a wrestling match.
Jump to a section
- Interview the wall before you buy a roll
- Buy by the pattern repeat, not the square foot
- The ceiling lies: hang the first strip from a plumb line
- Hang it a foot at a time, center-out
- Seams: match the pattern at eye level first
- Outlets and trim: rough cut, then trim in place
- Bubbles: chase them while the adhesive is still shy
- Aftercare: the corner that lifts
- Renting? Plan the removal before the install
- FAQ
Interview the wall before you buy a roll

Four questions decide everything, and you can answer all four in five minutes.
What's the paint finish? Peel-and-stick grips best on smooth, sealed surfaces — Tempaper, one of the category's original makers, recommends walls primed and painted in a satin or semi-gloss finish, and tells you to avoid matte, flat, and low-sheen paints. Run your hand across the wall: if it feels chalky, the adhesive will bond to loose paint particles instead of the wall — and take them along at removal.
Is it textured? Orange-peel and knockdown texture leave the adhesive touching only the high points. Manufacturers list textured surfaces under "avoid," and they mean it — this is the single most common reason the same roll succeeds in one apartment and fails in the next.
How fresh is the paint? New paint looks done long before it's cured. Tempaper's instructions are blunt: freshly painted walls must fully cure before application, and curing time depends on the paint — check the can, and when in doubt give it the weeks, not the days.
Is it clean? Kitchen film and bathroom haze are invisible until they un-stick your corners. Wipe the wall with a 1:1 mix of isopropyl alcohol and water, let it dry completely, and the adhesive meets the wall instead of the grime.
Buy by the pattern repeat, not the square foot

Measuring the wall is the easy half. Wallpaper is sold in rolls, but it's spent in strips — and every strip after the first must start at the same point in the pattern to line up with its neighbor. The distance the design travels before it repeats (printed on the listing as the "repeat") is material you'll cut away to make seams match. A large, dramatic repeat can cost you most of a foot per strip.
So do the math in strips, not feet: wall width ÷ roll width = number of strips; each strip = wall height + one pattern repeat of slack. Then add the overage every install guide converges on — 10 to 15 percent extra — for the strip you'll ruin, the outlet you'll miscut, and the future patch. A leftover roll is insurance; a missing half-roll from a discontinued print is a bare stripe you'll see for years.
The ceiling lies: hang the first strip from a plumb line

The single biggest visible failure in DIY wallpaper isn't bubbles — it's the slow lean. It happens when you align the first strip to the ceiling. Ceilings are almost never truly level, so strip one inherits a small tilt, strip two matches strip one, and by the fifth strip your pattern's vertical lines are visibly falling over while the ceiling gap grows wedge-shaped.
The fix costs two minutes: draw a light vertical line with a level (a bubble level, a laser, or a phone level app against a straightedge) one strip-width from the corner, and hang the first strip against the line, not the ceiling. If the ceiling is crooked, let the strip run slightly long and trim the top edge to follow it — a trimmed top edge disappears; leaning pattern lines never do. Every strip after that follows the first, which is why the first one is the whole job.
Hang it a foot at a time, center-out

Don't peel the whole backing and go full flag-in-the-wind — that's how wallpaper ends up stuck to itself. Peel back about a foot of backing, position the top against your line, and press the strip on from the center outward, working down as you release more backing. The smoothing tool (or an old gift card) pushes air toward the edges with light, overlapping strokes; gravity and patience do the rest.
The material forgives more than you'd think in the first minutes: if the strip lands crooked, peel it back gently and reset it — repositionability while the adhesive is fresh is the whole point of the category. What it doesn't forgive is stretching. Pull the vinyl taut and it will slowly creep back to its original size on the wall, opening a seam gap. Guide it; don't tension it.
Seams: match the pattern at eye level first
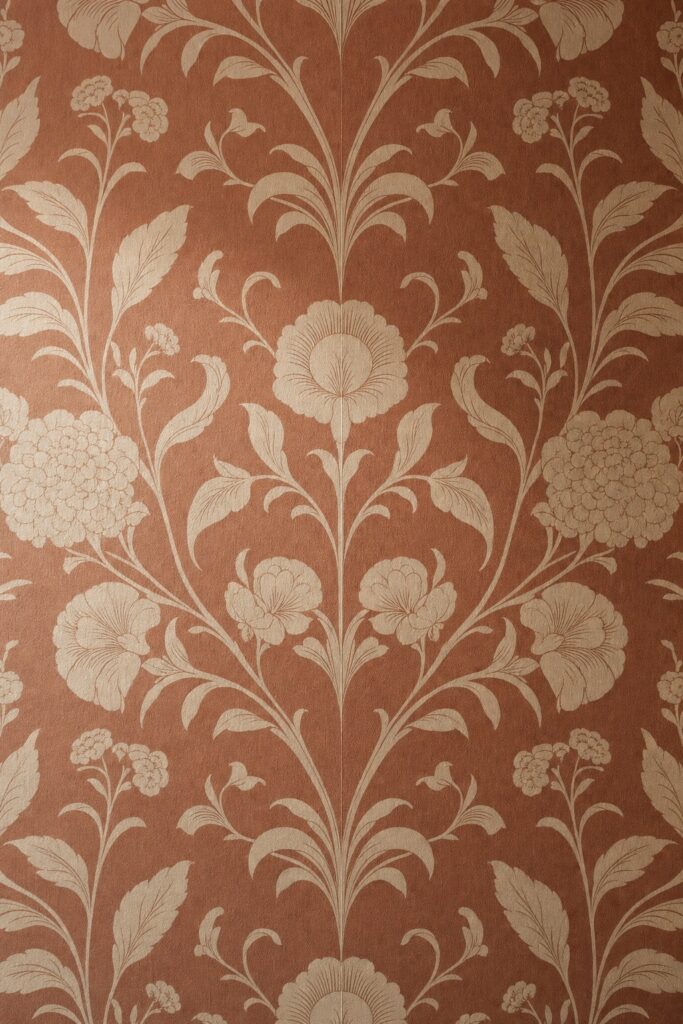
Align each new strip to its neighbor at eye level — roughly five feet up — because that's where anyone will ever inspect it, and small drifts hide better at the floor and ceiling than mid-wall. Most peel-and-stick papers butt together edge-to-edge; some instruct a tiny overlap. Pick whichever the maker printed on the instructions and keep it consistent across the wall, because a wall that alternates butted and overlapped seams shows every one.
If the pattern refuses to line up along the full height, don't chase it strip after strip — match at eye level, split the miss toward the ceiling, and remember the trimmed top edge from the plumb-line step is already absorbing the room's crookedness quietly.
Outlets and trim: rough cut, then trim in place

Never pre-cut an outlet hole from measurements — the strip shifts a half inch during hanging and your neat rectangle lands wrong. Instead: kill the circuit, unscrew the cover plate, hang the strip right over the opening, press the paper so the box's edges show, then make a small X cut and trim to the box's outline. The cover plate reinstalls over the cut and hides every ragged millimeter.
Baseboards and door trim get the same treatment: let the strip run long, press it into the crease where wall meets trim, and slice along that crease with a fresh blade guided by a wide putty knife or straightedge. Change blades more often than feels necessary — a dull blade doesn't cut vinyl, it drags and tears it, and one tear costs more paper than a whole pack of blades.
Bubbles: chase them while the adhesive is still shy
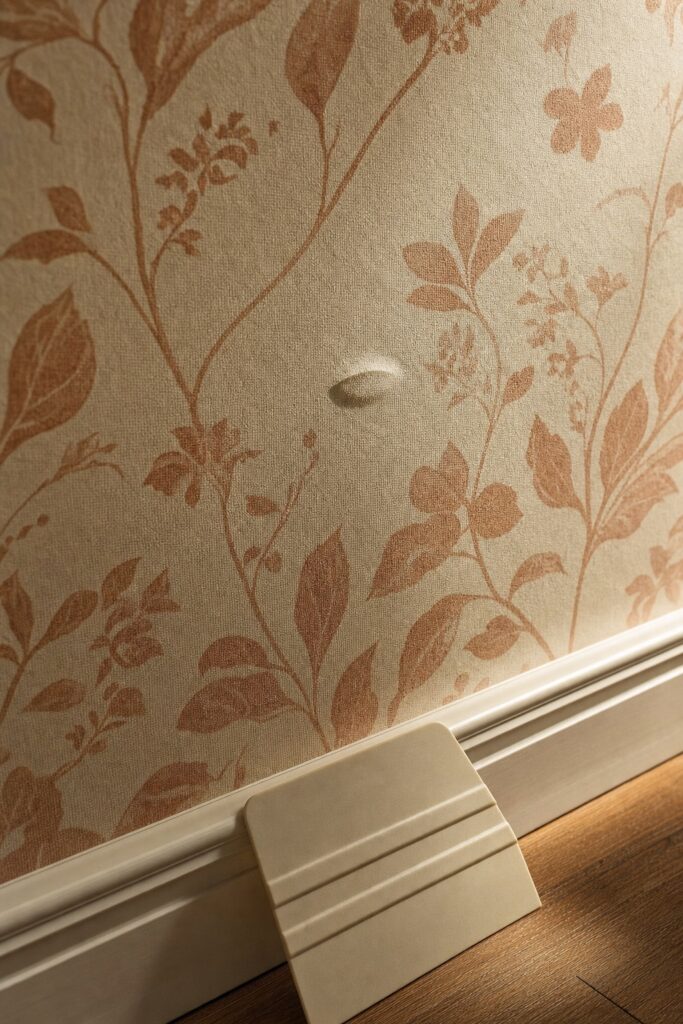
Bubbles are just air with nowhere to go, and they rank by age. In the first hour, a bubble is a free fix: lift the nearest edge back past it and re-smooth from center to edge. Within the first day, work it toward the closest seam with the smoother. After that, the adhesive has committed — so pop the survivor with a fine pin at its downhill edge and press the air out through the hole, which vanishes into the pattern.
Most bubbles never happen if the smoothing strokes overlap and travel outward. The ones that persist usually mark a spot the wall interview would have caught: a dusty patch, a grease shadow, or texture the adhesive is bridging instead of touching.
Aftercare: the corner that lifts

Check the wall once a week for the first month. If a corner or seam edge lifts, press it back the same day — a lifted edge collects dust on its adhesive, and a dusty edge won't re-stick next month. For an edge that keeps popping in a humid room, a rice-grain of clear removable glue dot behind the corner beats replacing the strip, and it stays deposit-legal.
Wipe the installed wall with a barely damp cloth when it needs it; skip abrasive cleaners that burnish vinyl. And keep the leftover roll flat in a closet — sun-faded replacements never quite match, but a strip cut from the same batch does.
Renting? Plan the removal before the install

The renter's version of this project starts at the end: every roll you consider gets judged first on how it leaves. Stick with brands that state "removable" plainly, keep the receipt-day photo of the wall, and at move-out follow the manufacturers' shared technique — start at a corner and peel slowly, parallel to the wall, not out and away from it. Peeling flat keeps the pull on the vinyl instead of the paint. A hair dryer on low, waved over a stubborn section, softens the adhesive and lowers the drama.
Two rental-specific warnings from the wall interview: flat builder-grade paint (common in rentals) is the finish most likely to come along with the adhesive, and a wall the landlord repainted the week you moved in is an uncured wall. When either is true, test one strip in a closet for two weeks before committing the living room — and see our risk-sorted rental hacks guide for how this project compares to the other deposit-safe upgrades. Fridges and flat furniture fronts play by friendlier rules than walls; that variant lives in the fridge wallpaper guide, and floors get their own material entirely in the peel-and-stick tile guide.
FAQ
Can I put peel and stick wallpaper on textured walls?
On real orange-peel or knockdown texture, no — the adhesive only touches the high points, and manufacturers list textured surfaces as unsuitable. Light texture sometimes holds for a while, but plan on it failing early. The workaround people actually use is mounting the paper on cut-to-size hardboard panels and leaning or hanging those.
How soon after painting can I install it?
Only after the paint fully cures, which is a different clock than "dry to the touch." Cure time depends on the paint type — check the manufacturer's can. Installing on uncured paint risks both weak adhesion now and stripped paint later.
Can I reuse a strip somewhere else?
Usually not well. Repositioning during install is fine, but once a strip has lived on a wall, its adhesive has collected dust and lost tack. Treat reuse as a bonus, not a plan — that's what the 10–15 percent overage is for.
Will it damage the paint when it comes off?
On cured, well-bonded satin or semi-gloss paint, quality removable paper peeled slowly and parallel to the wall typically comes off clean. On flat, chalky, or uncured paint, any adhesive can pull color. The finish and cure of the paint predict the outcome better than the brand of the paper.
How long does it last on the wall?
In a dry room with good prep, years — makers commonly show multi-year installs. Steamy small bathrooms and direct daily sun shorten that: humidity works on the edges and UV fades the print. In those rooms, expect to press edges back down occasionally and treat the wall as a refreshable surface, not a permanent one.


